


Welcome to the fun world of 3D video conversion! Owl3D is an AI-powered 2D to 3D video converter that delivers high-quality 3D from 2D sources. It's uniquely designed to add realistic 3D depth to your videos or photos, making it the perfect VR video converter. With Owl3D, you can easily transform any video into an immersive 3D experience.
In this guide, we'll walk you through using Owl3D to make your videos or photos pop in 3D.
1. Download Owl3D
First, download the Owl3D app for your Windows PC or Apple Silicon Mac.
Download here: https://www.owl3d.com/
2. Install Owl3D

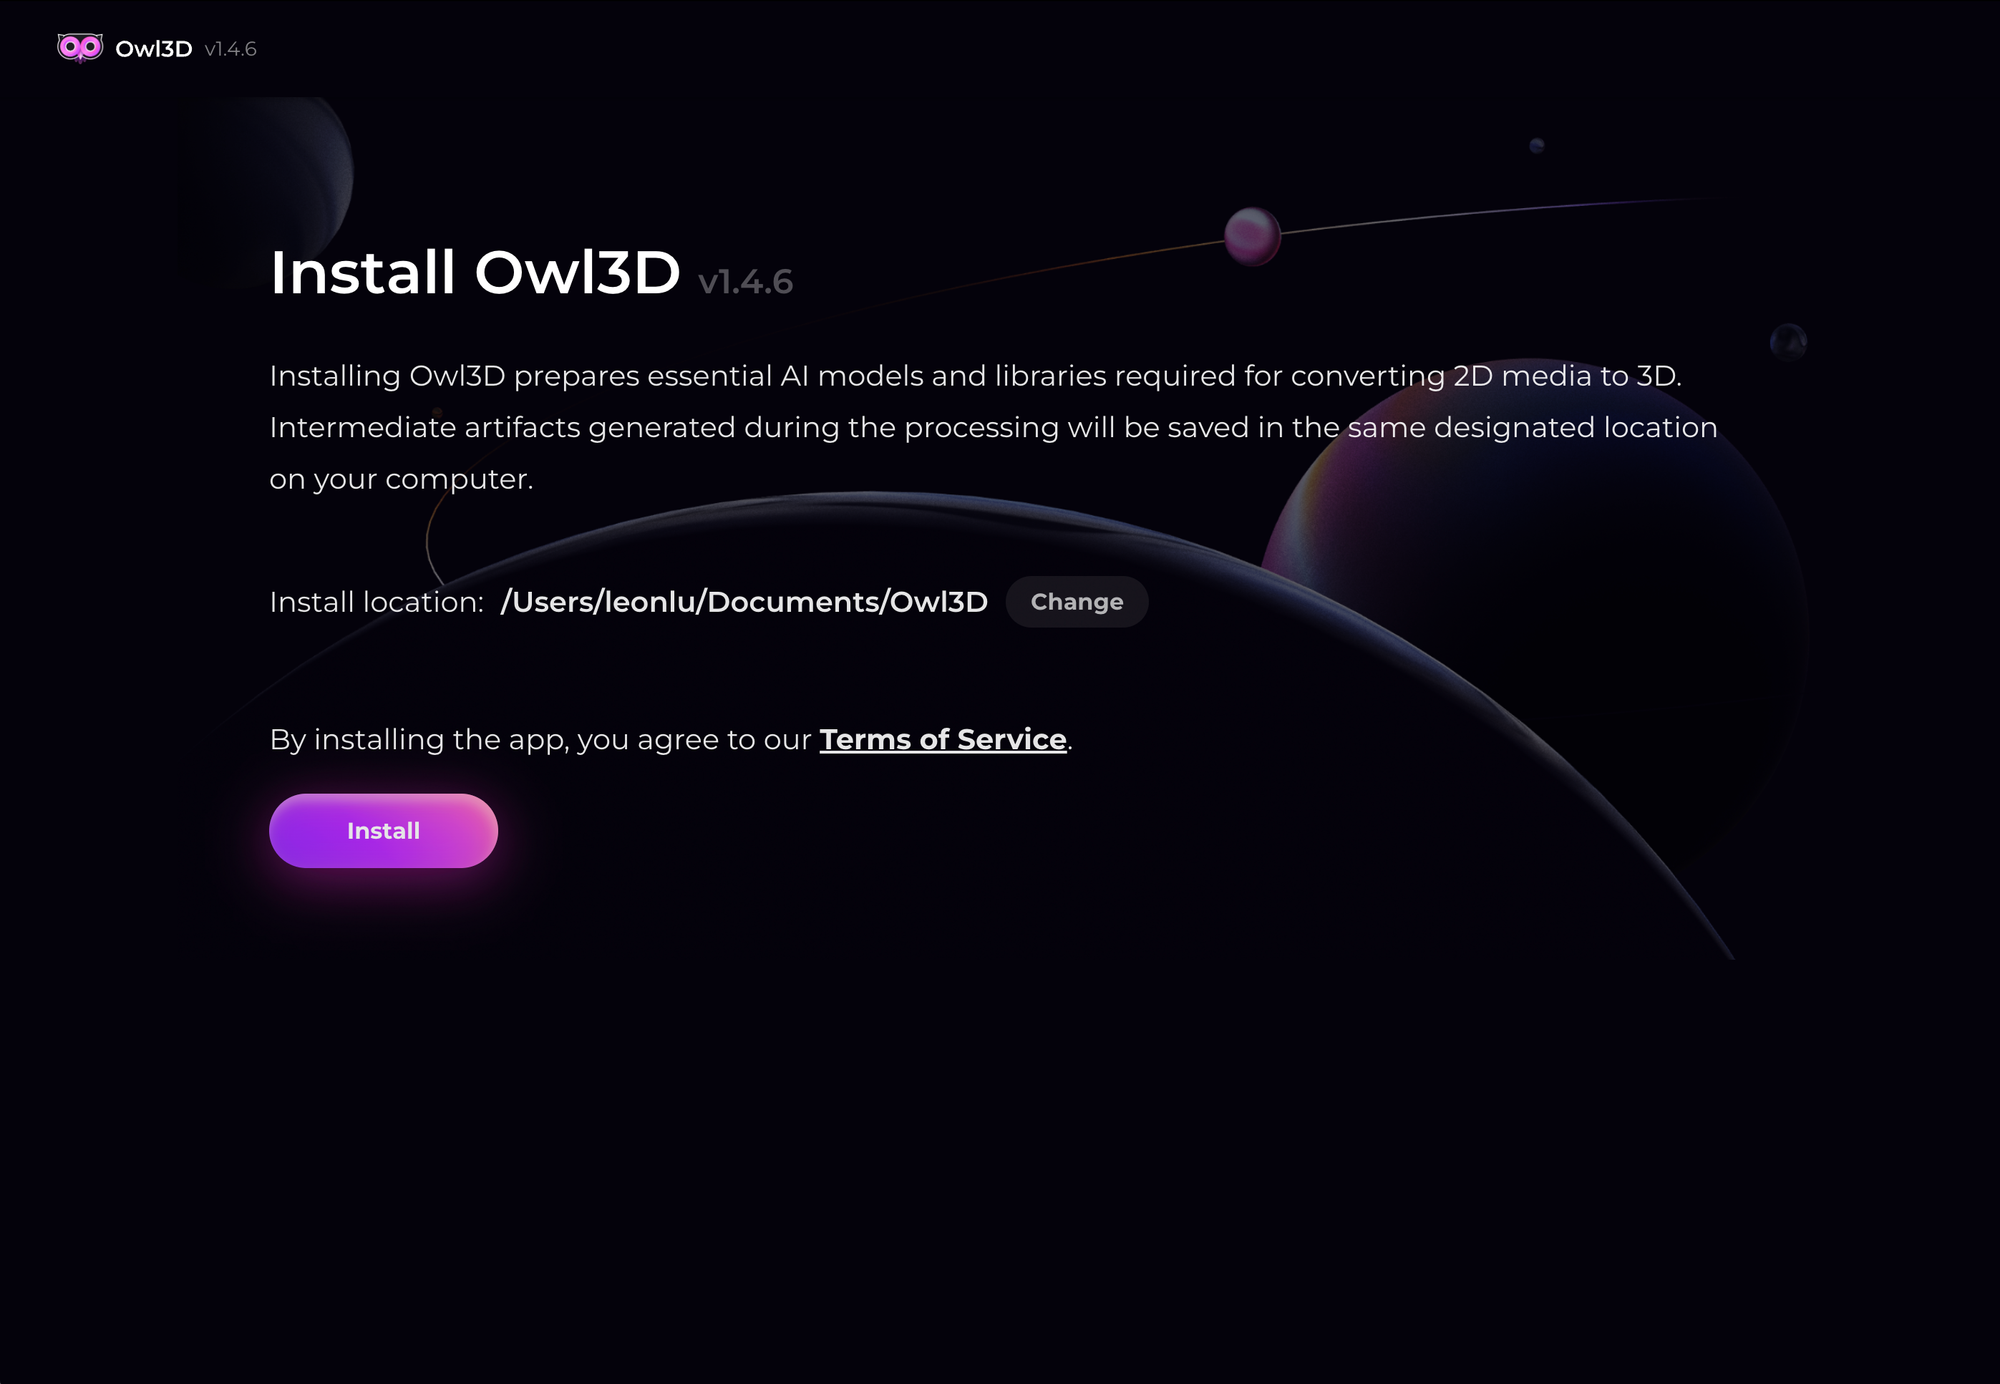
Choose an installation location with at least 10GB of free disk space. AI models may take a few minutes to download.
3. Select a Video or Photo

To start a 2D to 3D video or photo conversion, click the center area or the Convert button on the top-right corner. Pick any media you want to convert to 3D.
Suggestion: Find your favorite 2D movie trailers on YouTube and turn them into 3D movie trailers!
4. Choose an Output 3D Format (Optional)


Owl3D supports various 3D formats for different devices. Here’s a quick guide:
- Side-by-Side (SBS): Most popular for VR headsets like Meta Quest. This is the default.
- Spatial Video/Photo (MV-HEVC): For Apple Vision Pro.
- RGB-Depth: For holographic displays like Looking Glass.
- YouTube VR: Upload directly to YouTube as a VR video.
- Anaglyph: Use with red-blue anaglyph glasses.
- Half Side-By-Side: Ideal for Bigscreen streaming.
- Split-Left-Right: Outputs separate left and right eye images.
- Top-Bottom & Half Top-Bottom: Like SBS but with views stacked vertically.
- Cross-Eye: Like SBS but swaps left and right views.
- Depth-Only: Outputs only the depth map.
5. Select an Output Location
Choose a location to save your converted 3D media.
6. Adjust Advanced Settings (Optional)


Output Settings:
- Adjust video codec, quality, or output 3D views as a lossless image sequence.
Depth Settings:
- Backend: Select different AI models for 3D depth generation.
- Balanced Model: Good quality, fastest speed.
- Precision Model: Slower, but with more 3D detail.
- Ultra Model: Maximum detail, but very slow. Ideal for images.
- Augmentation: Adds realistic 3D depth by applying multiple inferences. (Turn off for casual use.)
- Temporal Stability: Improves 3D depth stability using nearby frames. (Turn off for faster speed.)
- Black Bar Detection: Removes black bars for better 3D depth.
3D Render Settings:
- Render Mode: Controls how to render the 3D displacement.
- Both Sides: Reduces visual artifacts by spreading the displacement on both sides, but takes longer to process.
- Left/Right Only: Faster but slightly less 3D. (Recommended for most users)
- 3D Effect: Adjusts the 3D displacement.
- Strength: Controls overall 3D depth.
- Pop-Out: Adjusts how much closer objects stick out. (Smaller strength + medium pop-out recommended.)
7. Start the Conversion
After choosing your media and settings, click the Start button. Owl3D's AI will automatically convert your 2D video to 3D.
8. Pick a 3D-Capable Device
To enjoy the converted 3D video, you'll need a 3D-capable device. Here are some popular options:
- VR Headsets: Meta Quest, Valve Index, Pico, HTC, Google Cardboard.
- Apple Vision Pro
- Looking Glass: A glasses-free holographic display.
- Lume Pad: A glasses-free 3D tablet.
- Anaglyph Glasses: Red-blue glasses.
9. Enjoy Your Favorite Content in 3D!
Now that your content is converted to 3D and you've got your device ready, enjoy your videos in a whole new way!
If you have questions or feedback, feel free to reach out to me at leon@owl3d.ai. I'm here to help! Happy Owl3Ding!